

This post contains affiliates links for your convenience. If you click on the links and/or purchase something through them, I earn a small amount of money. Please see disclosure for more information.
It’s official, fall is here in North Carolina. The weather has been perfect, with mild/warm mornings and evenings and cool nights. I have had many many [decaf] latte’s, I am wearing my ankle booties and chunky scarfs and the life is great.
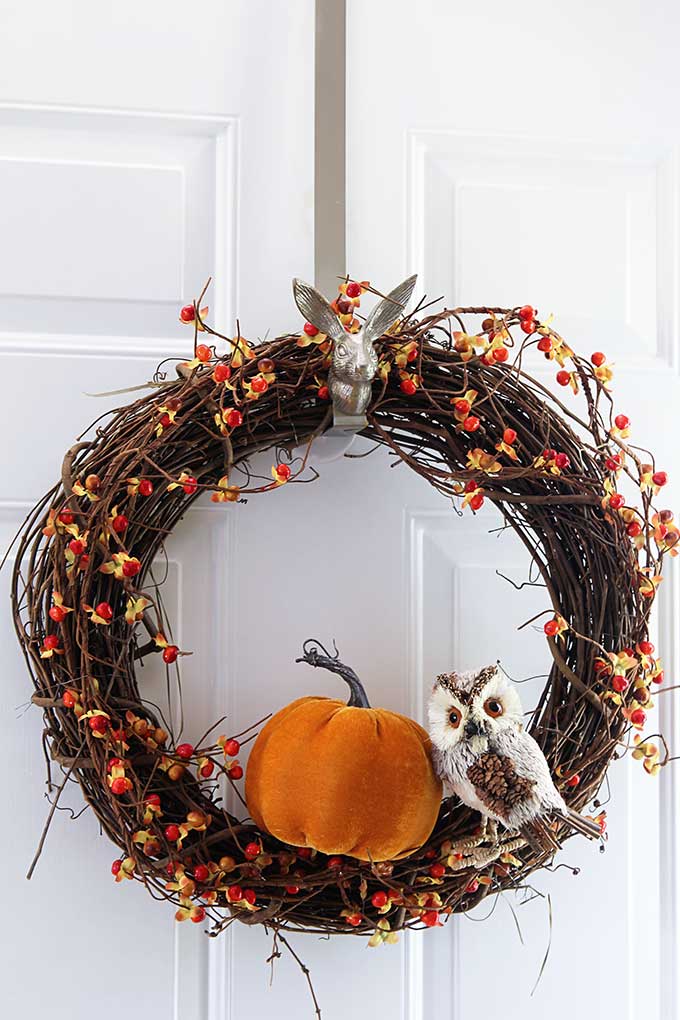
With the right materials, you can make a DIY fall wreath in just an afternoon.
This wreath was originally created in 2011, when Hubs and myself were still engaged.
The leaves were still beautiful, but I thought the bow had outlived its usefulness. This is how the wreath originally looked when I began. See? See? It’s not terrible, but it’s also not good.
I was inspired by my sister’s recent visit. We worked on her Fall wreath. The right materials were waiting for me when I discovered an old bunch in our craft cupboard of Fall-colored flowers. I grabbed the glue gun during naps and started working. This project is so simple that I can’t stress it enough.
The whole process will be walked through step-by-step. I do not have any photos because it was so long ago …)
Easy DIY Fall Wreath
Priorities first. It’s important to have the right materials. You’re almost certain to find all the supplies you need in your local craft shop. If you can’t find what you need, Amazon is a great option.
Buy Supplies
- 1 Grapevine wreath
- Any size is suitable for your space
- Leaf garland
- Fall colored flowers
- These are technically called “bushes” in the craft store, but to me they look like bouquets.
- Hot glue gun
- To cut the garland, use scissors (or pliers).
- Burlap
- You can either use burlap to make a bow or buy one already made. Both will work. I purchased mine at Hobby Lobby.
Directions
- Leave some of the “stem” when cutting the garland. This part will be saved for Step 2. I suggest leaving about 3 to 4 leaves per bunch. Don’t cut individual leaves.
- Arrange the leaves in desired patterns around the wreath, and tuck the stems inside the grapevine. You can glue the leaves to the wreath this way without having to glue them flat.
- Leaves can be glued in place using hot glue.
- Pull the flowers off the stems while the glue dries. These will usually come off without any problems, but sometimes you may need to cut the stems.
- Arrange the flowers in the desired order on the wreath once the leaves are dried.
- Put hot glue at the bottom of every flower, and then press them to the wreath.
- Hold each flower on the wreath for 15-25 seconds to allow the glue to set.
- Add your bow & enjoy!
It’s a great way to welcome family and friends to our house in the fall. The brighter oranges and reds really pop, and I love the way the burlap ribbon looks.